# API 認証機能の追加
このページでは、API 認証機能を追加します。 Laravel のログイン機能は以前のページで Laravel UI を用いて作成しました。 この時点で、Web ページを表示するための認証機能は完成しています。 しかし現時点では、API 経由からではの認証が設定されていないため、ログインしていないユーザーがアクセスできるようになっています。 つまり、ページを表示した後、 JavaScript からサーバーにリクエストを送る際に認証機能を使用していません。 このページでは、すでに設定した認証機能に加え Laravel Sanctum というパッケージを追加し、API でも認証機能が使えるようにします。
# Laravel/Sanctum インストール
# 依存関係の追加
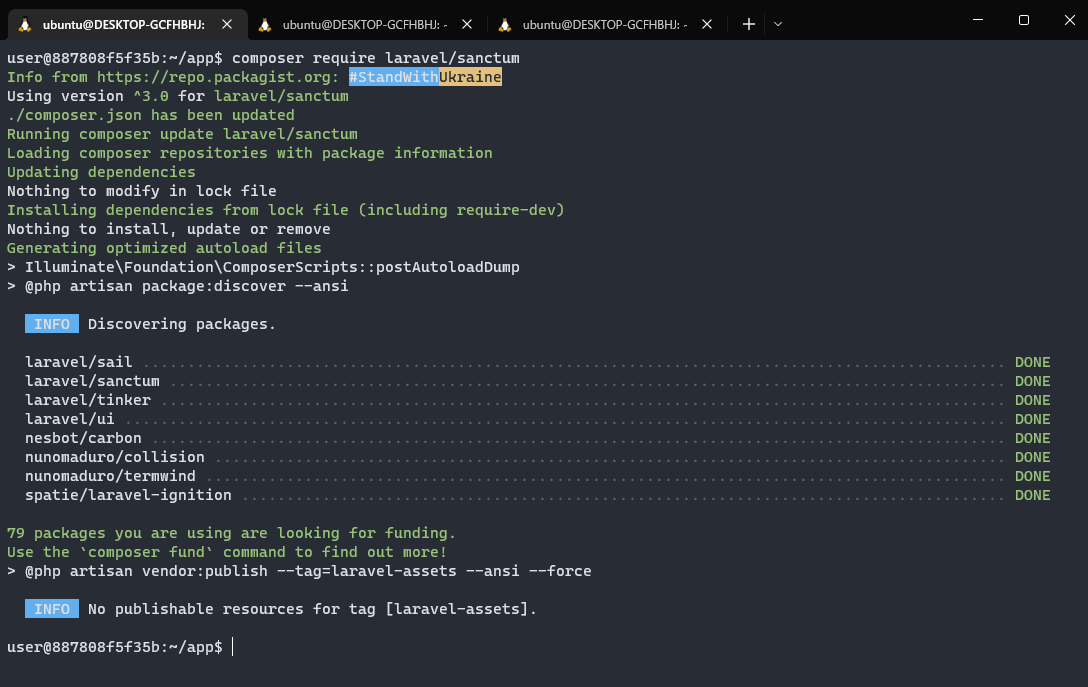
Composer を使用して Sanctum を依存関係に追加します。以下のコマンドを入力してください。
$$ composer require laravel/sanctum
その後、以下のコマンドを実行します。これは依存関係側にあるファイルをプロジェクトにコピーする作業です。(プロジェクト内で扱えるようにします。)
$$ php artisan vendor:publish --provider="Laravel\Sanctum\SanctumServiceProvider"
念のため以下のコマンドを実行し、マイグレーションを完了しておきます。
$$ php artisan migrate
# Laravel のミドルウェアに追加
// \Laravel\Sanctum\Http\Middleware\EnsureFrontendRequestsAreStateful::class, の行がコメントとなっているため以下のように外します。
~~/app/Http/Kernel.php
    /**
     * The application's route middleware groups.
     *
     * @var array<string, array<int, class-string|string>>
     */
    protected $middlewareGroups = [
        'web' => [
            \App\Http\Middleware\EncryptCookies::class,
            \Illuminate\Cookie\Middleware\AddQueuedCookiesToResponse::class,
            \Illuminate\Session\Middleware\StartSession::class,
            \Illuminate\View\Middleware\ShareErrorsFromSession::class,
            \App\Http\Middleware\VerifyCsrfToken::class,
            \Illuminate\Routing\Middleware\SubstituteBindings::class,
        ],

        'api' => [
            \Laravel\Sanctum\Http\Middleware\EnsureFrontendRequestsAreStateful::class,
            'throttle:api',
            \Illuminate\Routing\Middleware\SubstituteBindings::class,
        ],
    ];
2
3
4
5
6
7
8
9
10
11
12
13
14
15
16
17
18
19
20
21
22
# ルーターのミドルウェアに追加
To Do に関するルーティングのミドルウェアに認証を経由するように Sanctum を追加します。
以下のように Route::resource('todos'... を囲う形でファイルを修正してください。※入れ子の関係にご注意ください。
このルーティングに、認証を使用するという宣言を、ミドルウェアで追加することにより、To Do アイテムを操作する際には、認証が必要になります。
~~/routes/api.php
<?php

use Illuminate\Http\Request;
use Illuminate\Support\Facades\Route;
use App\Http\Controllers\TodoItemController;

/*
|--------------------------------------------------------------------------
| API Routes
|--------------------------------------------------------------------------
|
| Here is where you can register API routes for your application. These
| routes are loaded by the RouteServiceProvider within a group which
| is assigned the "api" middleware group. Enjoy building your API!
|
*/

Route::middleware('auth:sanctum')->get('/user', function (Request $request) {
    return $request->user();
});

Route::group(['middleware' => ['auth:sanctum']], function () {
    Route::resource('todos', TodoItemController::class, ['only' => [
        'index',
        'store',
        'show',
        'edit',
        'update',
        'destroy',
    ]]);
});
2
3
4
5
6
7
8
9
10
11
12
13
14
15
16
17
18
19
20
21
22
23
24
25
26
27
28
29
30
31
32
# CORS の設定
Cross-Origin Resource Sharing (CORS) の設定で supports_credentials を false から true に変更します。
~~/config/cors.php
<?php

return [

    /*
    |--------------------------------------------------------------------------
    | Cross-Origin Resource Sharing (CORS) Configuration
    |--------------------------------------------------------------------------
    |
    | Here you may configure your settings for cross-origin resource sharing
    | or "CORS". This determines what cross-origin operations may execute
    | in web browsers. You are free to adjust these settings as needed.
    |
    | To learn more: https://developer.mozilla.org/en-US/docs/Web/HTTP/CORS
    |
    */

    'paths' => ['api/*', 'sanctum/csrf-cookie'],

    'allowed_methods' => ['*'],

    'allowed_origins' => ['*'],

    'allowed_origins_patterns' => [],

    'allowed_headers' => ['*'],

    'exposed_headers' => [],

    'max_age' => 0,

    'supports_credentials' => true,

];
2
3
4
5
6
7
8
9
10
11
12
13
14
15
16
17
18
19
20
21
22
23
24
25
26
27
28
29
30
31
32
33
34
# クライアントで Credentials を付加する設定
クライアントから API リクエストを送信するライブラリ( Axios )で Credentials を付加する設定を有効にします。
window.axios.defaults.withCredentials = true の一行を以下のように追加してください。
~~/resources/js/bootstrap.js
import _ from 'lodash'
window._ = _

import 'bootstrap'

/**
 * We'll load the axios HTTP library which allows us to easily issue requests
 * to our Laravel back-end. This library automatically handles sending the
 * CSRF token as a header based on the value of the "XSRF" token cookie.
 */

import axios from 'axios'
window.axios = axios

window.axios.defaults.headers.common['X-Requested-With'] = 'XMLHttpRequest'
window.axios.defaults.withCredentials = true

/**
 * Echo exposes an expressive API for subscribing to channels and listening
...
2
3
4
5
6
7
8
9
10
11
12
13
14
15
16
17
18
19
20
# 環境変数を変更
.env の末尾に SANCTUM_STATEFUL_DOMAINS=localhost:8000 を 1 行追記してください。
...
VITE_PUSHER_APP_KEY="${PUSHER_APP_KEY}"
VITE_PUSHER_HOST="${PUSHER_HOST}"
VITE_PUSHER_PORT="${PUSHER_PORT}"
VITE_PUSHER_SCHEME="${PUSHER_SCHEME}"
VITE_PUSHER_APP_CLUSTER="${PUSHER_APP_CLUSTER}"

SANCTUM_STATEFUL_DOMAINS=localhost:8000
2
3
4
5
6
7
8
9
# テストリクエスト
API のリクエストをテスト送信するクライアントを作成します。~~/resources/js/components/todo/List.jsx を以下のように変更してください。
resources/js/components/todo/List.jsx
import React from "react";
import axios from "axios";
import { useEffect, useState } from "react";

function List() {

    const [items, setItems] = useState([]);
    useEffect(() => {
        (async () => {
            try {
                const { headers, data } = await axios.get("/api/todos/");
                setItems(data);
                console.log("request headers", headers);
            } catch (err) {
                console.error("request error", err.request.headers);
            }
        })();
    }, []);

    return (
        <div className="container">
            <div className="row justify-content-center">
                <div className="col-md-8">
                    <div className="card">
                        <div className="card-header">Test</div>
                        <div className="card-body">{JSON.stringify(items)}</div>
                    </div>
                </div>
            </div>
        </div>
    );
}

export default List;
2
3
4
5
6
7
8
9
10
11
12
13
14
15
16
17
18
19
20
21
22
23
24
25
26
27
28
29
30
31
32
33
34
35
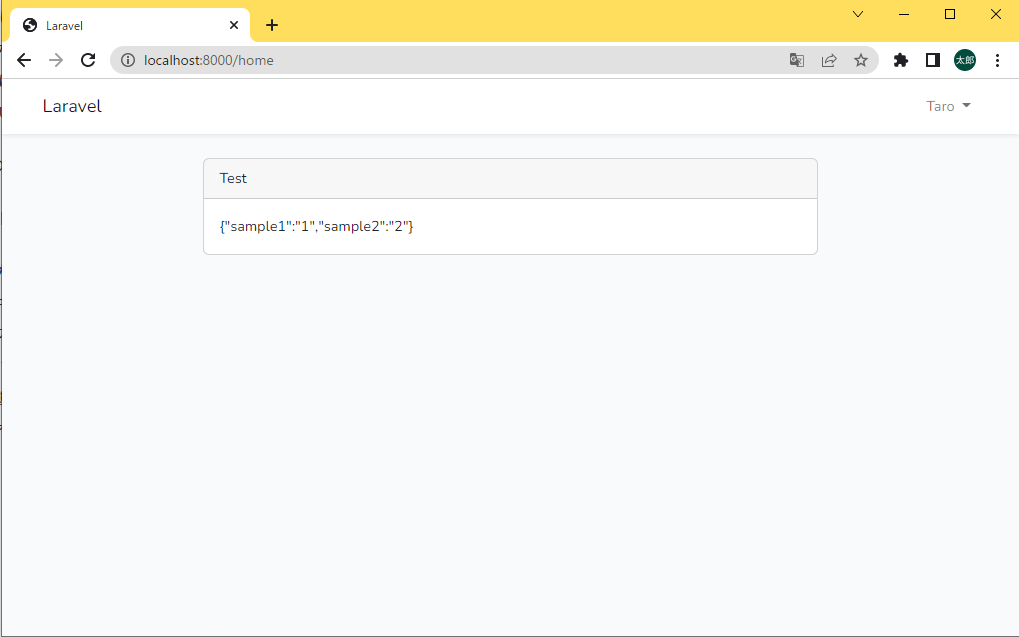
http://localhost:8000/home を開き、{"sample1":"1","sample2":"2"} が表示されていれば成功です。
以上で本セクションは終了です。